Small checkpoint relocations
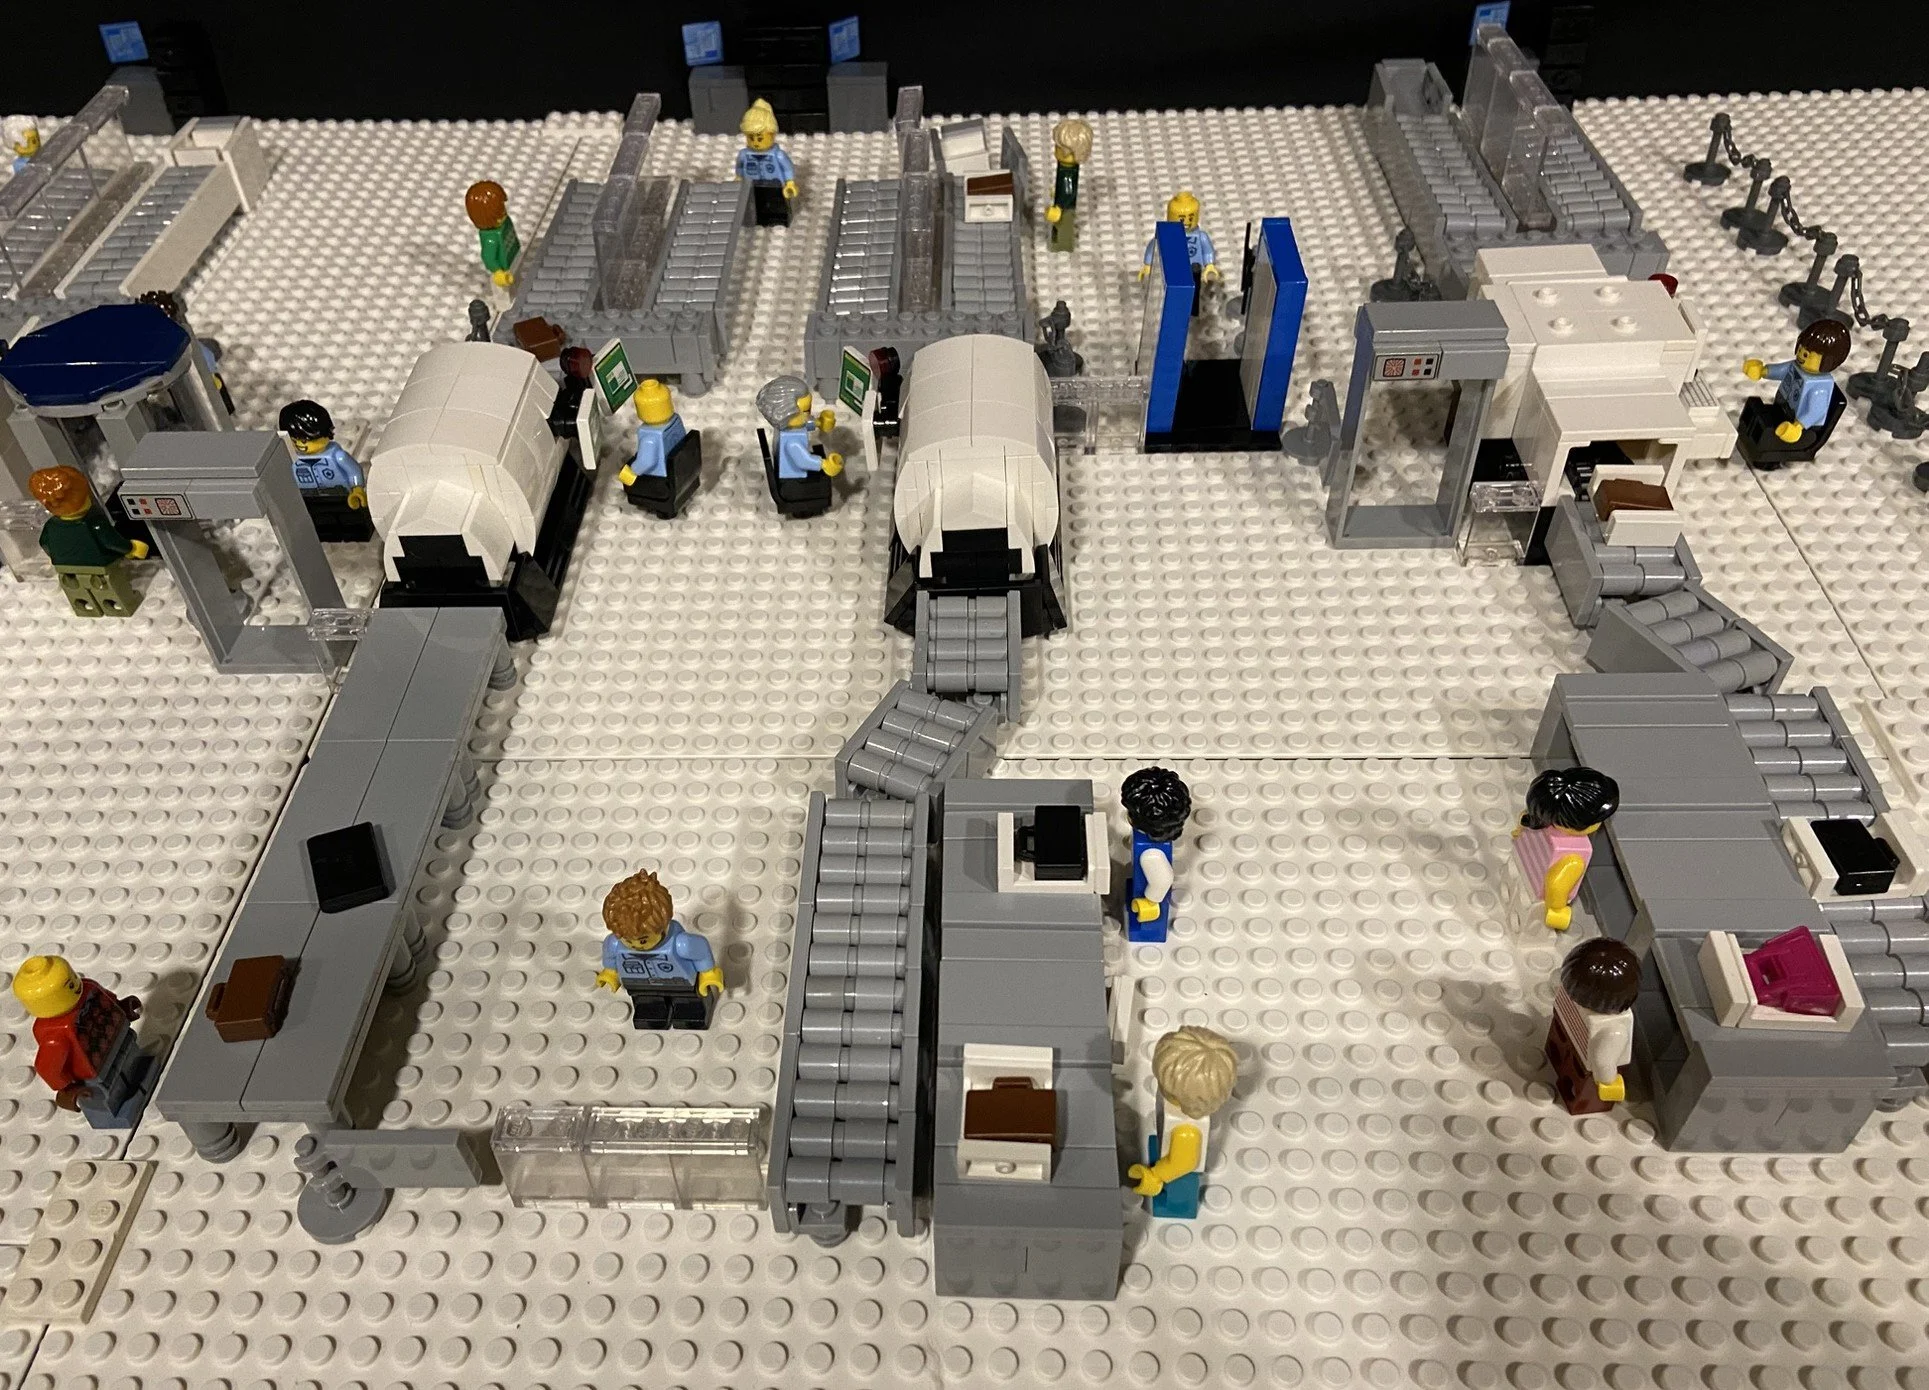
We often talk to small airports in the midst of terminal renovations who have been surprised to hear that they have to fund and contract moving their TSA passenger screening checkpoint. While moving a checkpoint lane or two may not look complex, in reality this can be quite involved and not inexpensive: you’ll need certified technicians from each equipment manufacturer, a rigger (even if just moving equipment a few feet), coordination and paperwork with TSA, a 3rd party equipment tester, ordering all needed furniture, fixtures, and equipment (i.e., FF&E), and someone to coordinate all of the vendors and ensure minimal disruption to your passengers. And you’ll need to make sure that your new space is properly prepared for the equipment relocation.
We recommend starting the contracting process early; ideally you will have all contracts in place several months prior to the planned move. You’ll need to make sure the statement(s) of work in these contracts are detailed and complete for this work, which can be difficult if you’ve not managed these types of projects before. You have many options in how you contract out this work too.
We can help navigate this process, so reach out if you need guidance or assistance!
SOWs for Checkpoint installs and relocations
This is the first in a series of lessons learned from our experiences with passenger screening checkpoint deployments. Statements of work (SOWs) for this scope need to be carefully written to be thorough, precise, fully describe the intended work scope, and clarify roles and responsibilities. Unfortunately, we could probably write a 100+ page book on the issues we’ve seen with checkpoint SOWs written by airports, airlines, or general contractors, typically due to the people writing them have limited experience with the procurement, installation, relocation, and de-installation of checkpoint security screening equipment. And please don’t have the bidders write the SOWs for you; even when they are well-intentioned this can lead to issues as they are trying to position themselves to win the contract.
Why are SOWs for checkpoint deployments so important? It’s similar to any construction work: you want to ensure that all bidders are pricing the same work scope so you can make a valid comparison of their bids. When SOWs are vague or poorly define responsibilities, this can quickly lead to cost and schedule surprises during the deployments. Or worse case, an important piece of the scope could be missed and lead to an unsuccessful deployment; the result of having an airport trying to operate with a non-functional TSA checkpoint would be a disaster for all parties. Even for sole source contracts, a well-crafted SOW is essential to ensure your checkpoint deployment occurs with minimal operational impacts to the airport.
Here is a partial list of the mistakes we have seen in checkpoint SOWs. These often have a lack of details on who is responsible for procuring, shipping, and installing every piece of hardware, especially with the furniture, fixtures, and equipment (FF&E) accessories. Since most of these projects involve TSA, the SOWs need to clearly state what TSA will and will not cover in their contracts, and what responsibilities the bidder will have. When the scope includes procuring screening equipment and/or FF&E, the SOWs need to clearly detail the exact desired configuration, including color, size, and any accessories / peripherals. Drawings should be included, and double / triple checked that the quantities stated in the SOW and attachments exactly matches those in the drawings for all equipment and FF&E; while this sounds obvious we’ve seen this particular error on many procurement documents. The rigging path should be clearly described; we’ve seen airports assume that ten-foot-long screening equipment could be moved in an eight-foot-deep elevator when this resulted in much more expensive rigging operations.
Finally, please ensure that schedules included in SOWs are realistic. On many occasions we’ve seen schedules that assumed manufacturers could deliver equipment in half their normal manufacturing lead times. Or that equipment could be relocated in too quick of a timeline for a busy airport.
If you need help creating a quality SOW for passenger screening checkpoint installs, relocations, and de-installations, please reach out to us and we can help!
Contracts considerations for checkpoint deployments
This is the second in a series of lessons learned from our experiences with passenger screening checkpoint deployments. This time we are focusing on the contracts that project owners produce for checkpoint installations, specifically toward System Integrators who manage the deployments. (I’ll write more about the System Integrators role in a future article.)
A critical area where we’ve seen repeated issues is the proper flow down of requirements. You should make sure to flow down requirements such as TSA’s donation terms and conditions, also known as the Capability Acceptance Process (CAP), and any applicable requirements from the airport. However, you should NOT blindly flow down all of the construction requirements, as the checkpoint installation, testing, and maintenance phases are typically completed after the building construction is completed and the typical construction requirements will add substantial time and cost to the project that may not be needed. And sometimes the full construction requirements were written for large construction teams and may not be applicable; an example we’ve seen is a requirement for the checkpoint bidder to provide a portable office and portable restrooms on site even though that scope did not make sense for an installation of a checkpoint.
The installation process for a checkpoint uses a highly skilled team of technicians, engineers, and riggers, so many of the typical labor contract requirements are not applicable. For example, requirements for certified apprentice requirements and certified payrolls are typically not relevant for a team of exempt employees.
The contract should also consider how to manage variance in the work scope. If the scope includes procurement of furniture, fixtures, and equipment (FF&E) such as gates and barriers, how will the contract cover if the quantity changes from the draft drawings used during the bidding cycle? Three common approaches are to include some allowances in the contract for FF&E procurement, including a process for low dollar change orders with restrictions on mark-ups, or requiring all bids to be at Fixed Price no matter how much FF&E is required; each of these approaches has benefits and disadvantages that should be considered. Another common scope item we’ve seen is to ask the system integrator for their design assistance on the checkpoint layout; while we consider this a good idea due to their expertise in this topic it’s difficult to provide a firm quote for design assistance without bounding it with a specific scope (number of review cycles and/or number of meetings) or with an hour limit.
Consider how to implement contractual incentives and disincentives, such as the flow down of Liquidated Damages based on the installation schedule. These can be difficult to manage from the System Integrator’s perspective, as their schedule is highly dependent on many outside variables such as the construction schedule. Typically, airport contracts require the System Integrator to work with a specific equipment manufacturer, who as sole source providers of the required equipment and installation technicians will not accept the flow down of Liquidated Damages. The result of these concerns often results in System Integrators greatly increasing their price, or tough negotiations on Liquidated Damage clauses that greatly delay the contracting process.
If you would like some more specifics of checkpoint contracting best practices we’ve learned from managing hundreds of deployments, please contact us.
Who pays for a checkpoint relocation / installation?
A common question we hear is who is responsible for funding their checkpoint relocation? TSA details this in the Checkpoint Requirements and Planning Guide (see Section 2-1), but we’ll try to summarize in this article. Three points before we dive into the details:
1. You should coordinate closely with your TSA contacts, as these guidelines can be adjusted on a case-by-case basis with justification.
2. Any work done prior to TSA Deployment and Sustainment Division (DSD)’s design approval is performed at risk.
3. Relocating screening equipment is surprisingly expensive!
Airport-initiated relocation: If you are relocating existing checkpoint screening equipment due to a new terminal, move to a different part of the airport, or even just to change the flooring, this is considered an Airport-Initiated Project. The sponsor (airport, airline, or other party) has to fund the entire project, including but not limited to designs of the checkpoint, brick and mortar work such as providing adequate electrical infrastructure, rigging the equipment (which could include temporary storage), OEM-certified technicians to decommission and re-install the equipment, and relocation and/or procurement of furniture, fixtures, and equipment (FF&E, such as gates and barriers). The sponsor will also need to hire a TSA-approved Checkpoint Deployment Contractor (CDC) (previously known as a Checkpoint System Integrator) to oversee the relocation. These financial responsibilities also apply to moving standalone Checked Baggage screening equipment. TSA is financially responsible for any testing needed for the relocated equipment, and for the on-going maintenance.
Airport-initiated relocation with additional capacity: When TSA validates the need for additional screening lane(s) as a result of higher passenger throughput, TSA is responsible for providing, installing, and maintaining the additional lanes. But the airport sponsor is responsible for funding all aspects of relocating the existing equipment.
Equipment donations: If you are considering TSA’s donation process (Capability Acceptance Process, i.e. CAP), then the sponsor would need to pay for procuring, shipping, installing, and testing the new equipment, and then paying for several years of maintenance. If combined with a relocation of the existing equipment, then the two previous paragraphs would also apply for the other equipment. And if you are replacing the existing equipment with newer donated equipment, definitely consult with TSA as you typically will need to pay the costs to decommission and ship the old equipment back to TSA.
Turnkey projects: These are projects where you need to keep the existing screening equipment functioning until the new checkpoint goes live, with TSA supplying additional screening equipment for the new checkpoint area and then the Sponsor removing the old checkpoint. TSA strong preference is not to use this approach, as it requires additional costs and additional equipment. If you do need this approach, then the airport sponsor is also responsible for the costs to ship the screening equipment from TSA’s warehouse to the site, and then to pay additional costs to decommission the older checkpoint and ship it back to TSA’s warehouse.
TSA-initiated projects: Here’s the good news – when TSA is the project sponsor for deployment of new technologies or reduction of equipment at a site, TSA funds all aspects of the project.
As always, we are here to help if you need guidance on your checkpoint or checked baggage screening deployments.
Checkpoint queue considerations
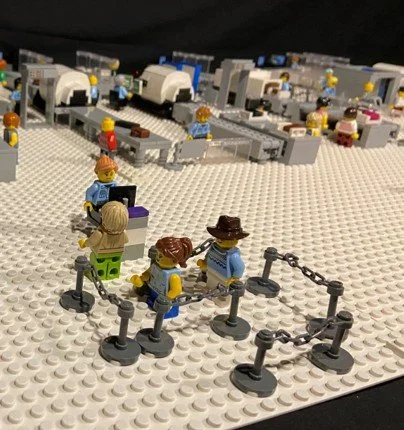
Time to discuss what is likely passengers’ least favorite aspect of the airport experience – the lines for checkpoint screening. Hopefully what we’ve written below is common sense to everyone, but we’ve definitely seen queues go awry when they were not designed thoughtfully. We recommend referencing TSA’s latest version of the Checkpoint Requirements and Planning Guide (CRPG) Chapter 4, as well as other published queue guides such as those published by stanchion manufacturers.
Our highest priority recommendation is to design in sufficient space for the queue wherever possible. TSA recommends a minimum of 600 square feet per checkpoint lane; this should be your bare minimum and ideally you’ll be able to provide more space that this. Consider the future when you design your queue: could the checkpoint possibly be expanded into additional lanes, and if so do you have sufficient queue space in your design? Where does the queue go when it overflows, as Murphy’s law will definitely apply and this unfortunately will occur – during your busiest passenger traffic, what happens if/when a checkpoint lane is down for maintenance?
There are lots of other topics to consider when designing a checkpoint queue. How will you communicate with passengers which line is appropriate for them, both with static signage and dynamic queue wait-time information? Remember that not all of your passengers are English speakers, and non-frequent passengers don’t always realize what a precheck lane is, and end up in the wrong line. One common area where we see issues is balancing the queue, especially when the airport may have a hallway or turns to enter the queue; i.e., how do passengers get to the shortest line, which may be further away from them– will you need to staff greeter positions to help balance the flow, optimize your queue layout so this is more obvious to passengers, or use other technology to indicate where passengers should go?
Queue designers also need to consider how to quickly update the patterns for times when you have lower passenger traffic, without forcing passengers to navigate a near-empty labyrinth or limbo below straps while hauling luggage. Airports operations staff need to decide who will be responsible for adjusting the queue during different traffic periods. There are emerging technologies to consider that could automate the queue reconfigurations.
Consider what style of stanchions you want to use. There are typically a couple of base options: the standard heavy bases are quicker to install, but can tend to move around as passengers knock into them. Magnetic bases are slimmer and less prone to wander around, but take more effort (and cost!) to install. And if you later decide to adjust the lane locations, it will take additional effort and cost to re-install magnetic plates in new positions. Stanchions and belts have a wide-range of cosmetic options that airports should evaluate for their purpose.
This just scratches the surface on the topic of queue design and management. As always, please reach out to us if you want to discuss your passenger checkpoint needs.
Lessons learned - checkpoint equipment infrastructure
Let’s talk about the infrastructure projects that go hand-in-hand with the deployments of checkpoint equipment. Security screening equipment has very specific power and data requirements depending on the model, the manufacturer, and the configuration you are installing. Power and data outlets all need to be in the correct spot in the checkpoint so that the equipment can be installed, without creating trip hazards for passengers or the TSA officers.
We have lots of best practices associated with installing the infrastructure for checkpoint screening equipment, but by far the number one lesson learned is to include the checkpoint layout very early in the design process and include the deployment experts. We’ve seen way too many times where equipment couldn’t fit where it was intended, often leading to costly rework of floor boxes, redesign of the checkpoint layout, and associated project delays.
Designers need to consider carefully how the checkpoint screening equipment interacts with the building and related infrastructure. Many of the Computed Tomography (CT) Checkpoint Property Screening Systems (CPSS) cannot be installed on sloped floors. Raised floors are also an issue for equipment such as Walk Through Metal Detectors (WTMDs), as floor vibrations can lead to ghost alarming of the equipment. Since CT’s consist of rapidly rotating gantries, floors need to be rigid to avoid excess vibrations and deflections. And of course designers need to carefully place equipment around any columns in the checkpoint to account for passenger flow, TSA officer flow, and maintenance zones for the equipment; we’ve seen in several deployments where columns were larger than anticipated due to cosmetic cladding which resulted in delays and rework to the layout.
Careful attention needs to be placed with floor boxes and other outlet locations. Mid and full-size CPSS units (i.e., those with auto diverters and automated tray return systems) require certain low clearance floor boxes in very specific locations. Power poles, while a convenient method to supply power, need to be place in the specific locations where the equipment needs power without being in the way for passengers and TSA officers. We have seen worse case scenarios where airports installed incorrect floor boxes and in the wrong locations, resulting in more expensive rework to move floor boxes and then patch all of the resulting floor holes. And designers should consider future adaptability, as it’s much cheaper and less disruptive to add conduit and outlets during a construction phase then trying to retrofit these in an operation checkpoint.
And to repeat our number one lesson learned here: include the checkpoint layout early in the design process, ideally with some screening equipment deployment experts who can evaluate the design from deployment perspective.


